Sterilising and Disinfecting
Sterilising and disinfecting equipment and workspaces is an essential process for anyone interested in growing mushrooms. Without it, you may as well give up before you begin. We’re not mentioning pasteurisation here as that process only relates to substrates and not equipment.
Sterilising or disinfecting your workplace might make it sound like mushroom growing is a hobby reserved for OCD sufferers but in reality it isn’t truly too time-consuming, nor is it difficult. Your basic required tools are a pressure cooker / canner, a good supply of 70% Isopropyl alcohol and (large) alcohol wipes and a heat flame source – a bunsen burner/small butane burner or similar. On top of that, to avoid ruining all your sterilisation and disinfection work, you’ll want disposable gloves (long-sleeved medical nitrile gloves are best) and that stock of unused (medical grade) covid facemasks you have lurking somewhere in the house.
Disinfecting workspace
While people swap these terms quite freely, sterilisation is a process that uses steam or dry heat to kill bacteria/spores and unless you have a commercial autoclave big enough to put your table in, what you actually need to do is disinfect your workspace! This is easy enough to do and basically involves you spraying and wiping anything and everything around you with 70% Isopropyl alcohol and wiping it all down. This isn’t a 100% effective way to do it, but it’s as close as anyone outside a pharmaceutical lab can get. Disinfecting this way needs to be done every time you need to do any ‘clean’ work relating to mushrooms.
 Sterilising equipment
Sterilising the equipment you use is essential at more or less every stage of mushroom mycelium production. You’ve cleaned all your surfaces with 70% alcohol, you’ve put some fresh disposable gloves on and cleaned them with alcohol, donned a facemask and you’re ready to go. Except for one thing…. what about the equipment you are going to use?
If you’re using jars to sterilise grain, agar, liquid culture or substrate they don’t really need sterilising beforehand as they are sterilised in your pressure cooked when you sterilise their contents. The same can be said of most equipment you use for mixing/weighing before sterilisation, but if you do choose to sterilise everything, it certainly won’t hurt.
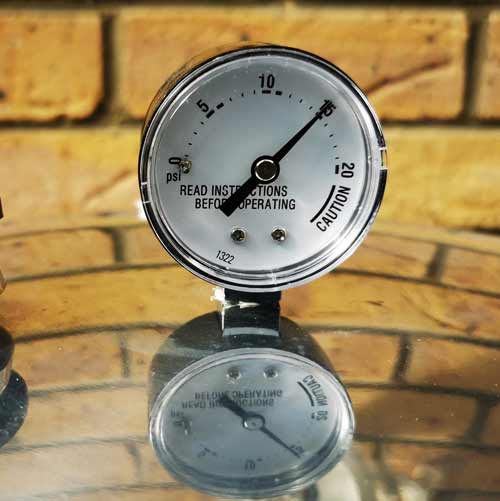
However, some items, such as petri dishes, must be sterilised before you pour freshly sterilised agar into them. Provided your petri dishes are autoclavable – check before you try – they can be sterilised in a pressure cooker. Place them in stacks that are the right size to allow you to hold the stack in one hand, wrap that stack in tin foil from your kitchen and place them in your pressure cooker (stacked above the water, not in it). We use rolled-up chunks of used tin foil under the pressure cooker trivet to lift it above the water. Your petri dishes can then be ‘cooked’ at 15psi for 15 minutes. When you take them out of the PC, keep them wrapped in the foil until ready for use. You can also sterilise scalpels, autoclavable syringes and other small tools this same way, wrapping them in foil to ensure they are ‘dry’ sterilised.
Beware in particular of sterilising plastic petri dishes. Some are autoclavable, but at 120c many plastic dishes will turn into a molten blob of liquid plastic. You really don’t want that to happen.
Heat – Flame Sterilising
Items such as scalpel blades and needles are quickly and easily sterilised using nothing more than a simple heat source – something like a little butane burner, bunsen burner or alcohol lamp. The item is placed in the flame and heated until red hot and you can then clean and cool it prior to use by using an alcohol wipe.
